7th Jul 2023
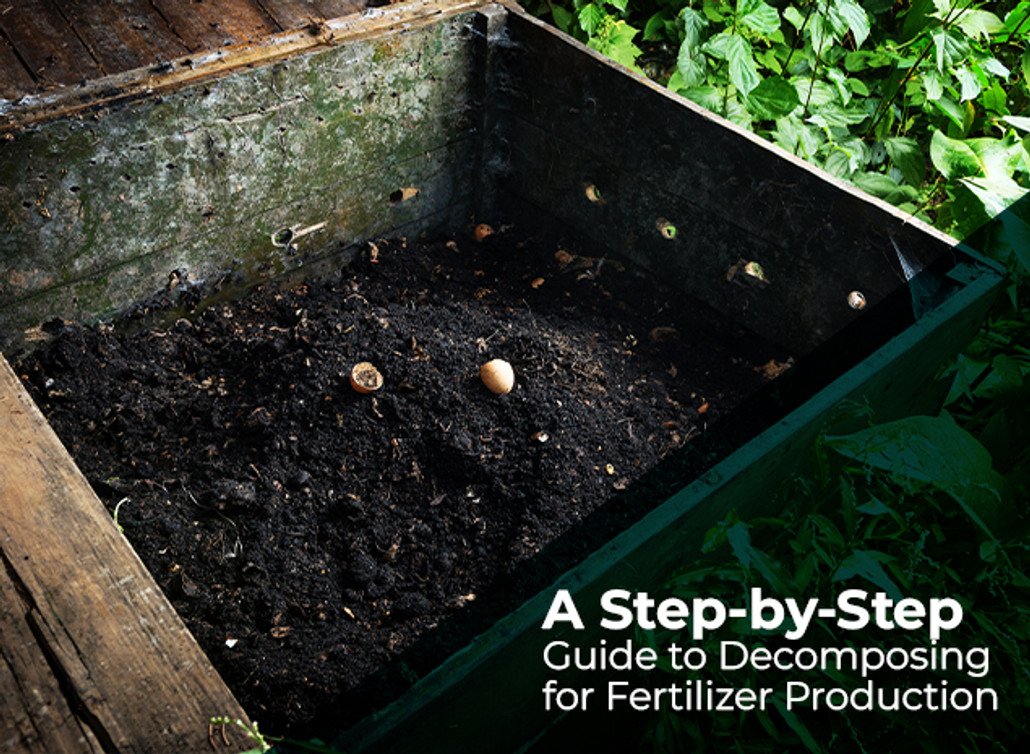
Harnessing the Power of Palm Leaf Plates: A Step-by-Step Guide to Decomposing for Fertilizer Production
As the world becomes more environmentally conscious, sustainable alternatives are gaining popularity in various industries. One such innovation is the use of palm leaf plates, which not only offer a sustainable alternative to disposable tableware but can also be repurposed to create nutrient-rich fertilizer through proper decomposition. In this article, we will guide you through the step-by-step process of decomposing palm leaf plates to produce organic fertilizer
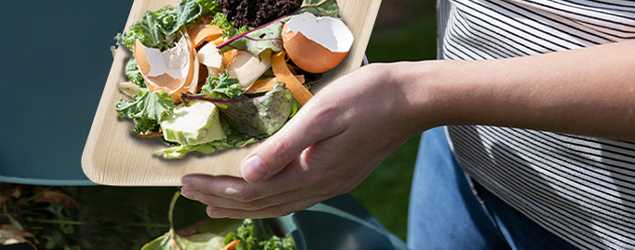
Step 1: Collection and Storage of Palm Leaf Plates:
To begin the process, collect palm leaf plates that have been used for their intended purpose. Ensure that the plates are made of natural, untreated palm leaves without any coatings or chemical additives. These plates can be sourced from eco-friendly suppliers or palm leaf plate manufacturing units. Once collected, store them in a dry and well-ventilated area to prevent mold or fungal growth.
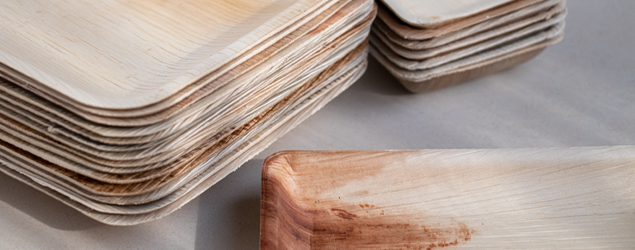
Step 2: Shredding the Palm Leaf Plates:
Before decomposing the palm leaf plates, it is essential to shred them into smaller pieces. This process facilitates quicker decomposition and ensures an even breakdown of the material. You can use a shredder or manually tear the plates into smaller fragments. Remember to remove any non-biodegradable elements like metal clips or strings used to hold the plates together.
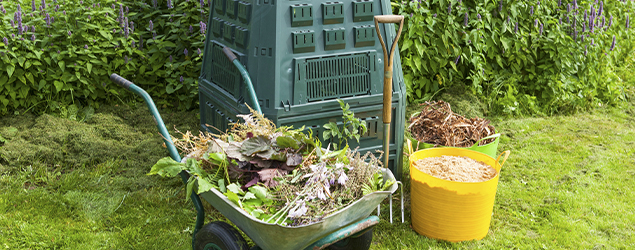
Step 3: Creating a Composting Pile: Identify an appropriate location for your composting pile, preferably in a shaded area to avoid excessive moisture loss. Begin by laying down a base layer of brown materials, such as dried leaves or twigs, to enhance airflow and provide structure to the pile. Next, add a layer of the shredded palm leaf plates on top of the brown materials. The ratio of brown to green materials should be approximately 3:1 to maintain the ideal carbon-to-nitrogen balance.
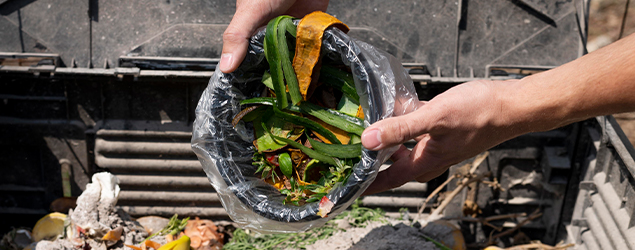
Step 4: Adding Green Materials: To ensure proper decomposition, incorporate green materials into the composting pile. These include kitchen scraps, grass clippings, or fresh plant waste. Layer the green materials on top of the palm leaf plate fragments, maintaining the 3:1 brown-to-green ratio. This balance provides the necessary nutrients for microbial activity and accelerates decomposition.
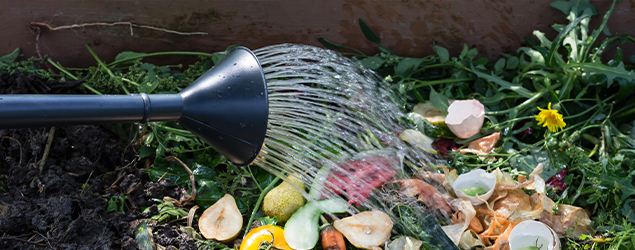
Step 5: Maintaining Moisture and Turning the Pile:
Maintaining adequate moisture levels is crucial for the decomposition process. Regularly monitor the compost pile's moisture content and ensure it remains moist, similar to a damp sponge. If the pile becomes too dry, lightly sprinkle water to restore moisture. Conversely, if it becomes overly wet, add dry brown materials to absorb excess moisture.Turning the compost pile every two to three weeks is vital for aeration and promoting even decomposition. Use a garden fork or shovel to gently mix the materials, ensuring that the inner portions are exposed to the outside, promoting uniform breakdown.
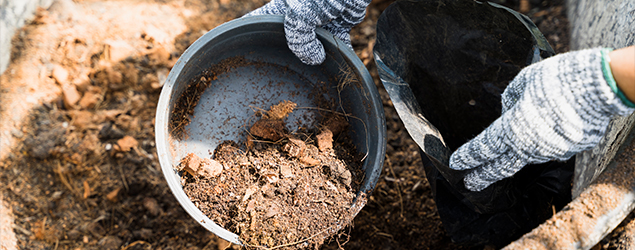
Step 6: Monitoring and Adjusting:
Throughout the decomposition process, monitor the compost pile's temperature, which should ideally range between 110°F and 160°F (43°C to 71°C). This temperature indicates the activity of beneficial microorganisms breaking down the materials. If the temperature falls outside this range, adjust the pile by adding more green materials to increase heat or brown materials to cool it down.
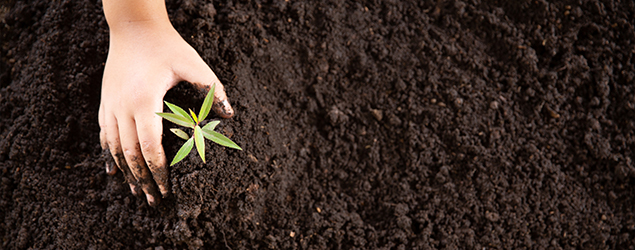
Step 7: Maturation and Harvesting: After approximately six to nine months, the composting process should be complete, and the palm leaf plates would have decomposed into a dark, crumbly material known as humus-rich compost. At this stage, the compost is fully matured and ready to be used as a nutrient-rich fertilizer for plants.
By following these step-by-step guidelines, you can effectively decompose palm leaf plates and transform them into a valuable organic fertilizer. This sustainable approach not only reduces waste but also

